Deploying Spring Boot to Kubernetes with GitHub Actions
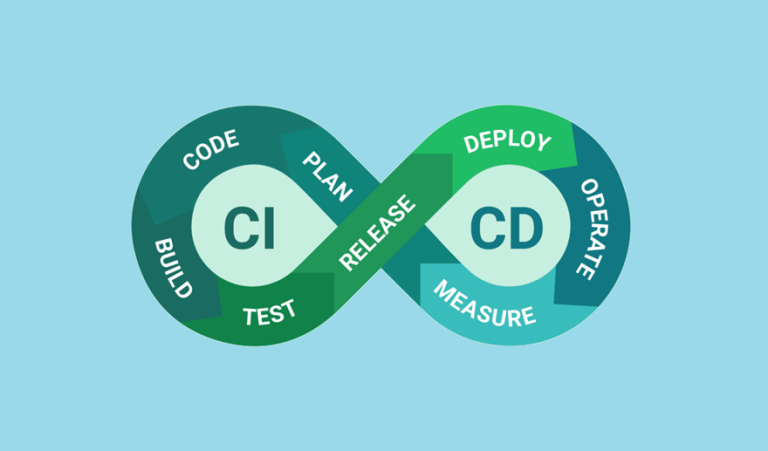
Deploying a Spring Boot application to Kubernetes is a powerful way to take advantage of container orchestration for scalability and reliability. Pairing it with GitHub Actions enables seamless CI/CD pipelines that automate everything from building Docker images to deploying applications and managing updates.
This guide walks you through:
- Building Docker images and pushing them to a container registry.
- Using
kubectlin GitHub Actions workflows to deploy to Kubernetes clusters. - Setting up Kubeconfig as a GitHub Secret for secure access.
- Employing deployment strategies like rolling updates and canary releases for zero-downtime deployments.
By the end, you’ll have an automated pipeline to deploy and manage your Spring Boot app on Kubernetes.
Table of Contents
- Why Deploy Spring Boot to Kubernetes with GitHub Actions?
- Step 1: Building and Pushing a Docker Image
- Step 2: Using
kubectlto Deploy to Kubernetes - Step 3: Implementing Canary or Rolling Update Strategies
- Final Thoughts
Why Deploy Spring Boot to Kubernetes with GitHub Actions?
Kubernetes is the industry standard for managing containerized applications, while GitHub Actions streamlines the process of automating CI/CD workflows. Deploying Spring Boot applications to Kubernetes using GitHub Actions makes your software delivery pipeline efficient, scalable, and secure.
Benefits:
- Automated Workflows: GitHub Actions automates every deployment step, from building to monitoring.
- Scalable Architecture: Kubernetes enables your Spring Boot app to scale effortlessly based on traffic.
- Secure Deployment: Use GitHub Secrets to securely access sensitive files, such as the Kubeconfig required to interact with your cluster.
- Deployment Strategies: Leverage zero-downtime strategies like rolling updates or canary releases.
Step 1: Building and Pushing a Docker Image
A Spring Boot application must be containerized using Docker before deploying it to Kubernetes. Here’s how to automate the process.
Writing a Dockerfile
Use the following Dockerfile to containerize your Spring Boot application:
# Base image with Java runtime
FROM openjdk:17-jdk-slim

# Set working directory inside the container
WORKDIR /app

# Copy the JAR file into the container
COPY target/my-spring-boot-app.jar app.jar

# Expose the Spring Boot application’s port
EXPOSE 8080

# Command to run the application
ENTRYPOINT ["java", "-jar", "app.jar"]
Automating the Build and Push Process
Create the GitHub Actions workflow .github/workflows/docker-build.yml to build and push the Docker image:
name: Build and Push Docker Image

on:
  push:
    branches:
      - main
  tags:
    - 'v*'

jobs:
  docker:
    runs-on: ubuntu-latest

    steps:
      - name: Checkout code
        uses: actions/checkout@v3

      - name: Log in to Docker Hub
        uses: docker/login-action@v2
        with:
          username: ${{ secrets.DOCKER_USERNAME }}
          password: ${{ secrets.DOCKER_PASSWORD }}

      - name: Build and Push Docker Image
        uses: docker/build-push-action@v4
        with:
          context: .
          file: Dockerfile
          push: true
          tags:
            my-dockerhub-username/my-spring-boot-app:${{ github.ref_name }}
This workflow builds your Docker image and pushes it to a container registry, such as Docker Hub, tagged with the branch or release version.
Step 2: Using kubectl to Deploy to Kubernetes
With the Docker image built and stored, we deploy it to a Kubernetes cluster using GitHub Actions and kubectl.
Writing Kubernetes Deployment Manifests
Here are the YAML configuration files for your deployment and service:
deployment.yaml
apiVersion: apps/v1
kind: Deployment
metadata:
  name: spring-boot-app
  labels:
    app: spring-boot-app
spec:
  replicas: 3
  selector:
    matchLabels:
      app: spring-boot-app
  template:
    metadata:
      labels:
        app: spring-boot-app
    spec:
      containers:
      - name: spring-boot-container
        image: my-dockerhub-username/my-spring-boot-app:latest
        ports:
        - containerPort: 8080
service.yaml
apiVersion: v1
kind: Service
metadata:
  name: spring-boot-service
spec:
  selector:
    app: spring-boot-app
  ports:
  - protocol: TCP
    port: 80
    targetPort: 8080
  type: LoadBalancer
Automating the Deployment Workflow
Deploy the app using the GitHub Actions workflow .github/workflows/deploy.yml:
name: Deploy to Kubernetes

on:
  push:
    branches:
      - main

jobs:
  deploy:
    runs-on: ubuntu-latest

    steps:
      - name: Checkout code
        uses: actions/checkout@v3

      - name: Set up Kubeconfig
        run: |
          mkdir -p $HOME/.kube
          echo "${{ secrets.KUBECONFIG }}" > $HOME/.kube/config

      - name: Apply Kubernetes Configuration
        run: |
          kubectl apply -f k8s/deployment.yaml
          kubectl apply -f k8s/service.yaml
Securely store your Kubeconfig file as a GitHub Secret (copy and paste the config content into the Secret named KUBECONFIG).
Step 3: Implementing Canary or Rolling Update Strategies
Kubernetes supports advanced deployment strategies to roll out updates without downtime.
Rolling Update Strategy
Gradually replace old pods with new ones:
- Add this to your deployment manifest:
strategy: type: RollingUpdate rollingUpdate: maxSurge: 1 maxUnavailable: 1
Canary Deployment Strategy
Roll out new features to a small subset of users for testing:
- Create a new deployment with a single replica for the canary version.
- Adjust the
selectorfield in your service to route partial traffic to the new version.
Example canary-deployment.yaml:
apiVersion: apps/v1
kind: Deployment
metadata:
  name: spring-boot-canary
spec:
  replicas: 1
  template:
    metadata:
      labels:
        app: spring-boot-app
        version: canary
    spec:
      containers:
      - name: spring-boot-container
        image: my-dockerhub-username/my-spring-boot-app:v-next
Final Thoughts
Deploying your Spring Boot application to Kubernetes with GitHub Actions combines the best of automation, scalability, and reliability. This guide covered every step, from Dockerizing the app to deploying it securely on Kubernetes and using advanced update strategies.
Take these steps into your next project to deliver rapidly and confidently! Start deploying to Kubernetes today!