Automating Spring Boot Builds with Jenkins with Examples
Jenkins is one of the most popular tools for creating automated pipelines that handle everything from code integration to deployment. For Java-based projects, automating builds for Spring Boot with Jenkins ensures a streamlined development process, higher quality assurance, and faster delivery cycles.
This article provides a practical guide to automating Spring Boot builds with Jenkins, covering topics like the Jenkinsfile structure, integrating Maven or Gradle, setting up a unit test + build job, and analyzing your build history.
Table of Contents
- What is Jenkins?
- Exploring Jenkinsfile Structure
- Integrating Maven or Gradle
- Setting up a Basic Unit Test and Build Job
- Viewing Build History in Jenkins
- Final Thoughts
What is Jenkins?
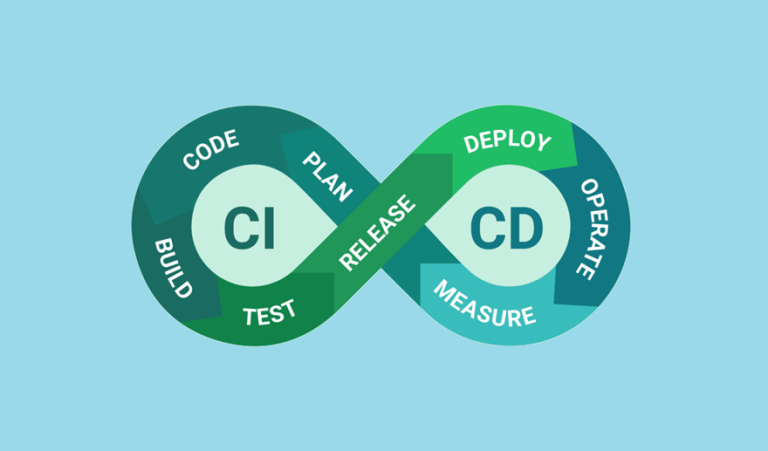
Jenkins is an open-source automation server that enables continuous integration (CI) and continuous delivery (CD). It automates repetitive tasks like building, testing, and deploying code, making it a perfect fit for modern development teams.
Why Use Jenkins for Spring Boot?
- Streamlined Builds: Automatically compile, package, and build your Spring Boot application.
- Testing Automation: Run unit and integration tests as part of the pipeline.
- Plugin Ecosystem: Jenkins supports a wide range of plugins for tools like Maven, Gradle, JUnit, and Docker.
- Improved Collaboration: Ensure consistent builds and catch errors early in the pipeline.
Exploring Jenkinsfile Structure
The Jenkinsfile contains the pipeline configuration for automating builds, tests, and deployments. It defines a series of stages (e.g., build, test) and the steps to execute in each stage.
Pipeline Types
- Declarative Pipeline: Easier syntactic structure, ideal for beginners.
- Scripted Pipeline: Offers greater flexibility but is more complex.
Here’s a sample declarative pipeline for a Spring Boot project:
pipeline {
    agent any  // Use any available agent/node for build
    tools {
        maven 'Maven 3.8.6'  // Specify Maven version
    }
    environment {
        JAVA_HOME = '/usr/lib/jvm/java-17-openjdk-amd64'  // Define JAVA_HOME
    }
    stages {
        stage('Checkout') {
            steps {
                checkout scm  // Clone the repository
            }
        }
        stage('Build') {
            steps {
                sh 'mvn clean package'  // Run Maven build
            }
        }
        stage('Test') {
            steps {
                sh 'mvn test'  // Run unit tests
            }
        }
    }
    post {
        always {
            archiveArtifacts artifacts: '**/target/*.jar'  // Store build artifacts
        }
        success {
            echo 'Build and tests completed successfully!'
        }
        failure {
            echo 'Build failed. Check logs for details.'
        }
    }
}
Key Sections:
- Agent: Specifies where the pipeline will execute (e.g., any node or specific agent).
- Stages: Defines the main pipeline steps (e.g., checkout, build, test).
- Post: Handles success, failure, or cleanup actions (e.g., storing built artifacts).
Integrating Maven or Gradle
Example with Maven
Spring Boot projects often use Maven as the build tool. Ensure Maven is installed on the Jenkins server or configured using the Jenkins global tool settings.
Step 1: Add Maven to Jenkins:
- Navigate to Manage Jenkins > Global Tool Configuration.
- Under Maven, add a new Maven installation by specifying its version.
Step 2: Use Maven in the Jenkinsfile:
stage('Build with Maven') {
    steps {
        sh 'mvn clean install'
    }
}
Step 3: Enable Tests with Maven:
stage('Test') {
    steps {
        sh 'mvn test'
    }
}
Example with Gradle
For Gradle-based Spring Boot projects, ensure Gradle is accessible on the Jenkins server.
Step 1: Add Gradle to Jenkins:
- Follow the same steps as Maven to configure Gradle in the global tools.
Step 2: Use Gradle in the Jenkinsfile:
stage('Build with Gradle') {
    steps {
        sh './gradlew build'
    }
}
Step 3: Enable Tests with Gradle:
stage('Test') {
    steps {
        sh './gradlew test'
    }
}
Setting up a Basic Unit Test and Build Job
Steps to Create a Jenkins Job
- Open Jenkins and click
New Item. - Choose Pipeline and provide a name for the job.
- Configure the Pipeline Definition:
- Select Pipeline script from SCM if you store your
Jenkinsfilein Git. - Link your Git repository and specify the branch to build from.
- Select Pipeline script from SCM if you store your
Running Spring Boot Unit Tests
For demonstration, assume this Spring Boot application contains a simple REST API and its corresponding test case:
Example Code (AppController.java):
@RestController
public class AppController {
    @GetMapping("/api/hello")
    public String hello() {
        return "Hello, Jenkins!";
    }
}
Example Unit Test (AppControllerTest.java):
@WebMvcTest(AppController.class)
public class AppControllerTest {

    @Autowired
    private MockMvc mockMvc;

    @Test
    public void helloEndpoint_shouldReturnMessage() throws Exception {
        mockMvc.perform(get("/api/hello"))
            .andExpect(status().isOk())
            .andExpect(content().string("Hello, Jenkins!"));
    }
}
Ensure that mvn test or ./gradlew test is included in your pipeline to execute these unit tests.
Viewing Build History in Jenkins
Jenkins automatically keeps a record of build histories, allowing you to track success, failures, and changes between builds.
Where to Find Build History
- Navigate to your pipeline/job.
- Below the details, you’ll find a Build History section.
Features of Build History
- Logs: Detailed output of each step, including compile errors or test failures.
- Artifacts: Download packaged JAR or WAR files from your builds.
- Pipeline Graph: Visualization of your pipeline stages (useful for tracking large pipelines).
Use the Blue Ocean plugin for a more interactive and user-friendly view of pipeline history.
Final Thoughts
Automating your Spring Boot builds with Jenkins not only speeds up development but also ensures better code quality through automated testing and integration. By defining pipelines in the Jenkinsfile, integrating Maven or Gradle, and leveraging build history insights, you can create a highly efficient CI/CD workflow for your Java applications.
Start small with a basic build and expand your Jenkins pipeline to include automated deployments and environment-specific stages. With Jenkins, your Spring Boot project can achieve seamless integration and delivery!