Publishing Spring Boot Artifacts to Nexus or Artifactory
Deploying Spring Boot artifacts efficiently is an integral part of delivering software. Whether you’re working as part of a large team or managing a solo project, having a reliable process to publish your build outputs is crucial. Nexus and Artifactory are two popular repository management tools that allow you to store, manage, and share modular artifacts, enabling smooth integration and deployment across teams.
This guide will walk you through the steps of publishing Spring Boot artifacts to Nexus or Artifactory. We’ll cover building artifacts using Maven, pushing them to private repositories with mvn deploy, securely managing credentials through GitHub Secrets, and optimizing workflows with reusable configurations.
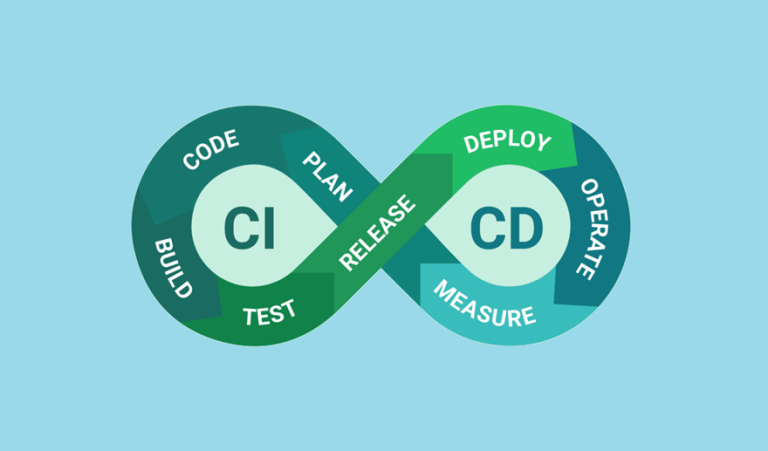
By the time you finish reading, you’ll be able to confidently set up a secure, automated pipeline for artifact deployment. Whether you’re new to DevOps or just looking for a fresh perspective on CI/CD workflows, this article is here to help.
Table of Contents
- Building Artifacts with Maven
- Using mvn deploy to Push to a Private Repository
- Setting Credentials via GitHub Secrets
- Using Reusable Workflows
- Comparison of Nexus and Artifactory
- Summary
Building Artifacts with Maven
Maven is a build automation tool widely used in Java projects, including Spring Boot applications. It helps compile your code, run tests, and package the application into deployable artifacts.
Step 1: Configure Your POM File
Before building your artifact, it’s essential to configure your pom.xml file correctly. Here’s an example snippet showing the necessary configuration for packaging:
<project>
  <modelVersion>4.0.0</modelVersion>
  <groupId>com.example</groupId>
  <artifactId>spring-boot-example</artifactId>
  <version>1.0.0</version>
  <packaging>jar</packaging>
  <dependencies>
    <!-- Spring Boot Starter Dependencies -->
  </dependencies>
  <build>
    <plugins>
      <plugin>
        <groupId>org.springframework.boot</groupId>
        <artifactId>spring-boot-maven-plugin</artifactId>
        <version>3.1.2</version>
      </plugin>
    </plugins>
  </build>
</project>
Step 2: Build the Artifact
To build your Spring Boot application, run the following Maven command:
mvn clean package
This command performs the following tasks:
- Cleans up the
targetdirectory. - Compiles your code.
- Runs unit tests.
- Packages the application into a
jarorwarfile.
When the process is complete, you’ll find your artifact in the target directory, ready to deploy.
Using mvn deploy to Push to a Private Repository
Once you’ve built the application, it’s time to push the artifact to a private repository using Maven’s deploy feature. This step ensures that other teams or systems can access the artifact through a centralized location.
Step 1: Configure Your Repository Settings
Add your repository details to the settings.xml file in your Maven configuration:
<servers>
  <server>
    <id>nexus-releases</id>
    <username>${env.NEXUS_USERNAME}</username>
    <password>${env.NEXUS_PASSWORD}</password>
  </server>
</servers>
Next, update your pom.xml to include the distribution repository:
<distributionManagement>
  <repository>
    <id>nexus-releases</id>
    <url>https://nexus.example.com/repository/maven-releases/</url>
  </repository>
</distributionManagement>
Step 2: Deploy the Artifact
To push your artifact, run:
mvn deploy
The artifact will be published to the configured repository, making it available for downstream consumption.
Setting Credentials via GitHub Secrets
Credential management is one of the most sensitive areas of DevOps. GitHub Secrets help you store and use sensitive information securely in workflows.
Step 1: Add Secrets in Your Repository
Navigate to your GitHub repository settings and add secrets like NEXUS_USERNAME and NEXUS_PASSWORD. These secrets are encrypted and can only be accessed in workflows.
Step 2: Use Secrets in Workflow
Below is an example GitHub Actions workflow for publishing artifacts to Nexus using credentials stored as secrets:
name: Deploy to Nexus

on:
  push:
    branches:
      - main

jobs:
  deploy:
    runs-on: ubuntu-latest
    steps:
      - name: Check out code
        uses: actions/checkout@v3

      - name: Set up JDK
        uses: actions/setup-java@v3
        with:
          java-version: 17

      - name: Deploy to Nexus
        run: mvn clean deploy
        env:
          NEXUS_USERNAME: ${{ secrets.NEXUS_USERNAME }}
          NEXUS_PASSWORD: ${{ secrets.NEXUS_PASSWORD }}
Using GitHub Secrets ensures that sensitive credentials never appear in your logs or expose your system to unnecessary risks.
Using Reusable Workflows
Reusable workflows simplify your CI/CD processes by enabling a shared configuration that can be invoked across multiple repositories.
Step 1: Create a Reusable Workflow
Define a reusable workflow in a separate repository:
name: Reusable Deploy Workflow

on:
  workflow_call:
    inputs:
      artifactId:
        required: true
        type: string
      version:
        required: true
        type: string
    secrets:
      NEXUS_USERNAME:
        required: true
      NEXUS_PASSWORD:
        required: true

jobs:
  deploy:
    runs-on: ubuntu-latest
    steps:
      - name: Set up Maven
        run: mvn clean deploy
        env:
          ARTIFACT_ID: ${{ inputs.artifactId }}
          VERSION: ${{ inputs.version }}
          NEXUS_USERNAME: ${{ secrets.NEXUS_USERNAME }}
          NEXUS_PASSWORD: ${{ secrets.NEXUS_PASSWORD }}
Step 2: Invoke the Workflow
Call the reusable workflow from another repository:
jobs:
  deploy:
    uses: org/reusable-repo/.github/workflows/deploy.yml@main
    with:
      artifactId: spring-boot-example
      version: 1.0.0
    secrets:
      NEXUS_USERNAME: ${{ secrets.NEXUS_USERNAME }}
      NEXUS_PASSWORD: ${{ secrets.NEXUS_PASSWORD }}
Reusable workflows enable consistency and reduce duplication across projects, especially in large organizations.
Comparison of Nexus and Artifactory
While Nexus and Artifactory serve similar purposes, they have distinct features. Here’s a quick comparison:
| Feature | Nexus | Artifactory |
|---|---|---|
| Licensing | Open source + paid | Paid (limited free tier) |
| Supported Formats | Maven, Docker, npm, etc. | Comprehensive (Maven, Gradle, etc.) |
| UI/UX | Minimalistic | Feature-rich |
| Integration | Strong with Jenkins, Kubernetes | Strong with JFrog products |
Summary
Publishing Spring Boot artifacts to Nexus or Artifactory may seem complex, but with the right approach, you can streamline the process. Here’s a recap:
- Use Maven to build your Spring Boot artifact.
- Deploy the artifact to Nexus or Artifactory with
mvn deploy. - Securely manage credentials using GitHub Secrets.
- Optimize your setup with reusable workflows for consistency.
By mastering these steps, you’ll create a robust pipeline that accelerates development while maintaining quality and security.


